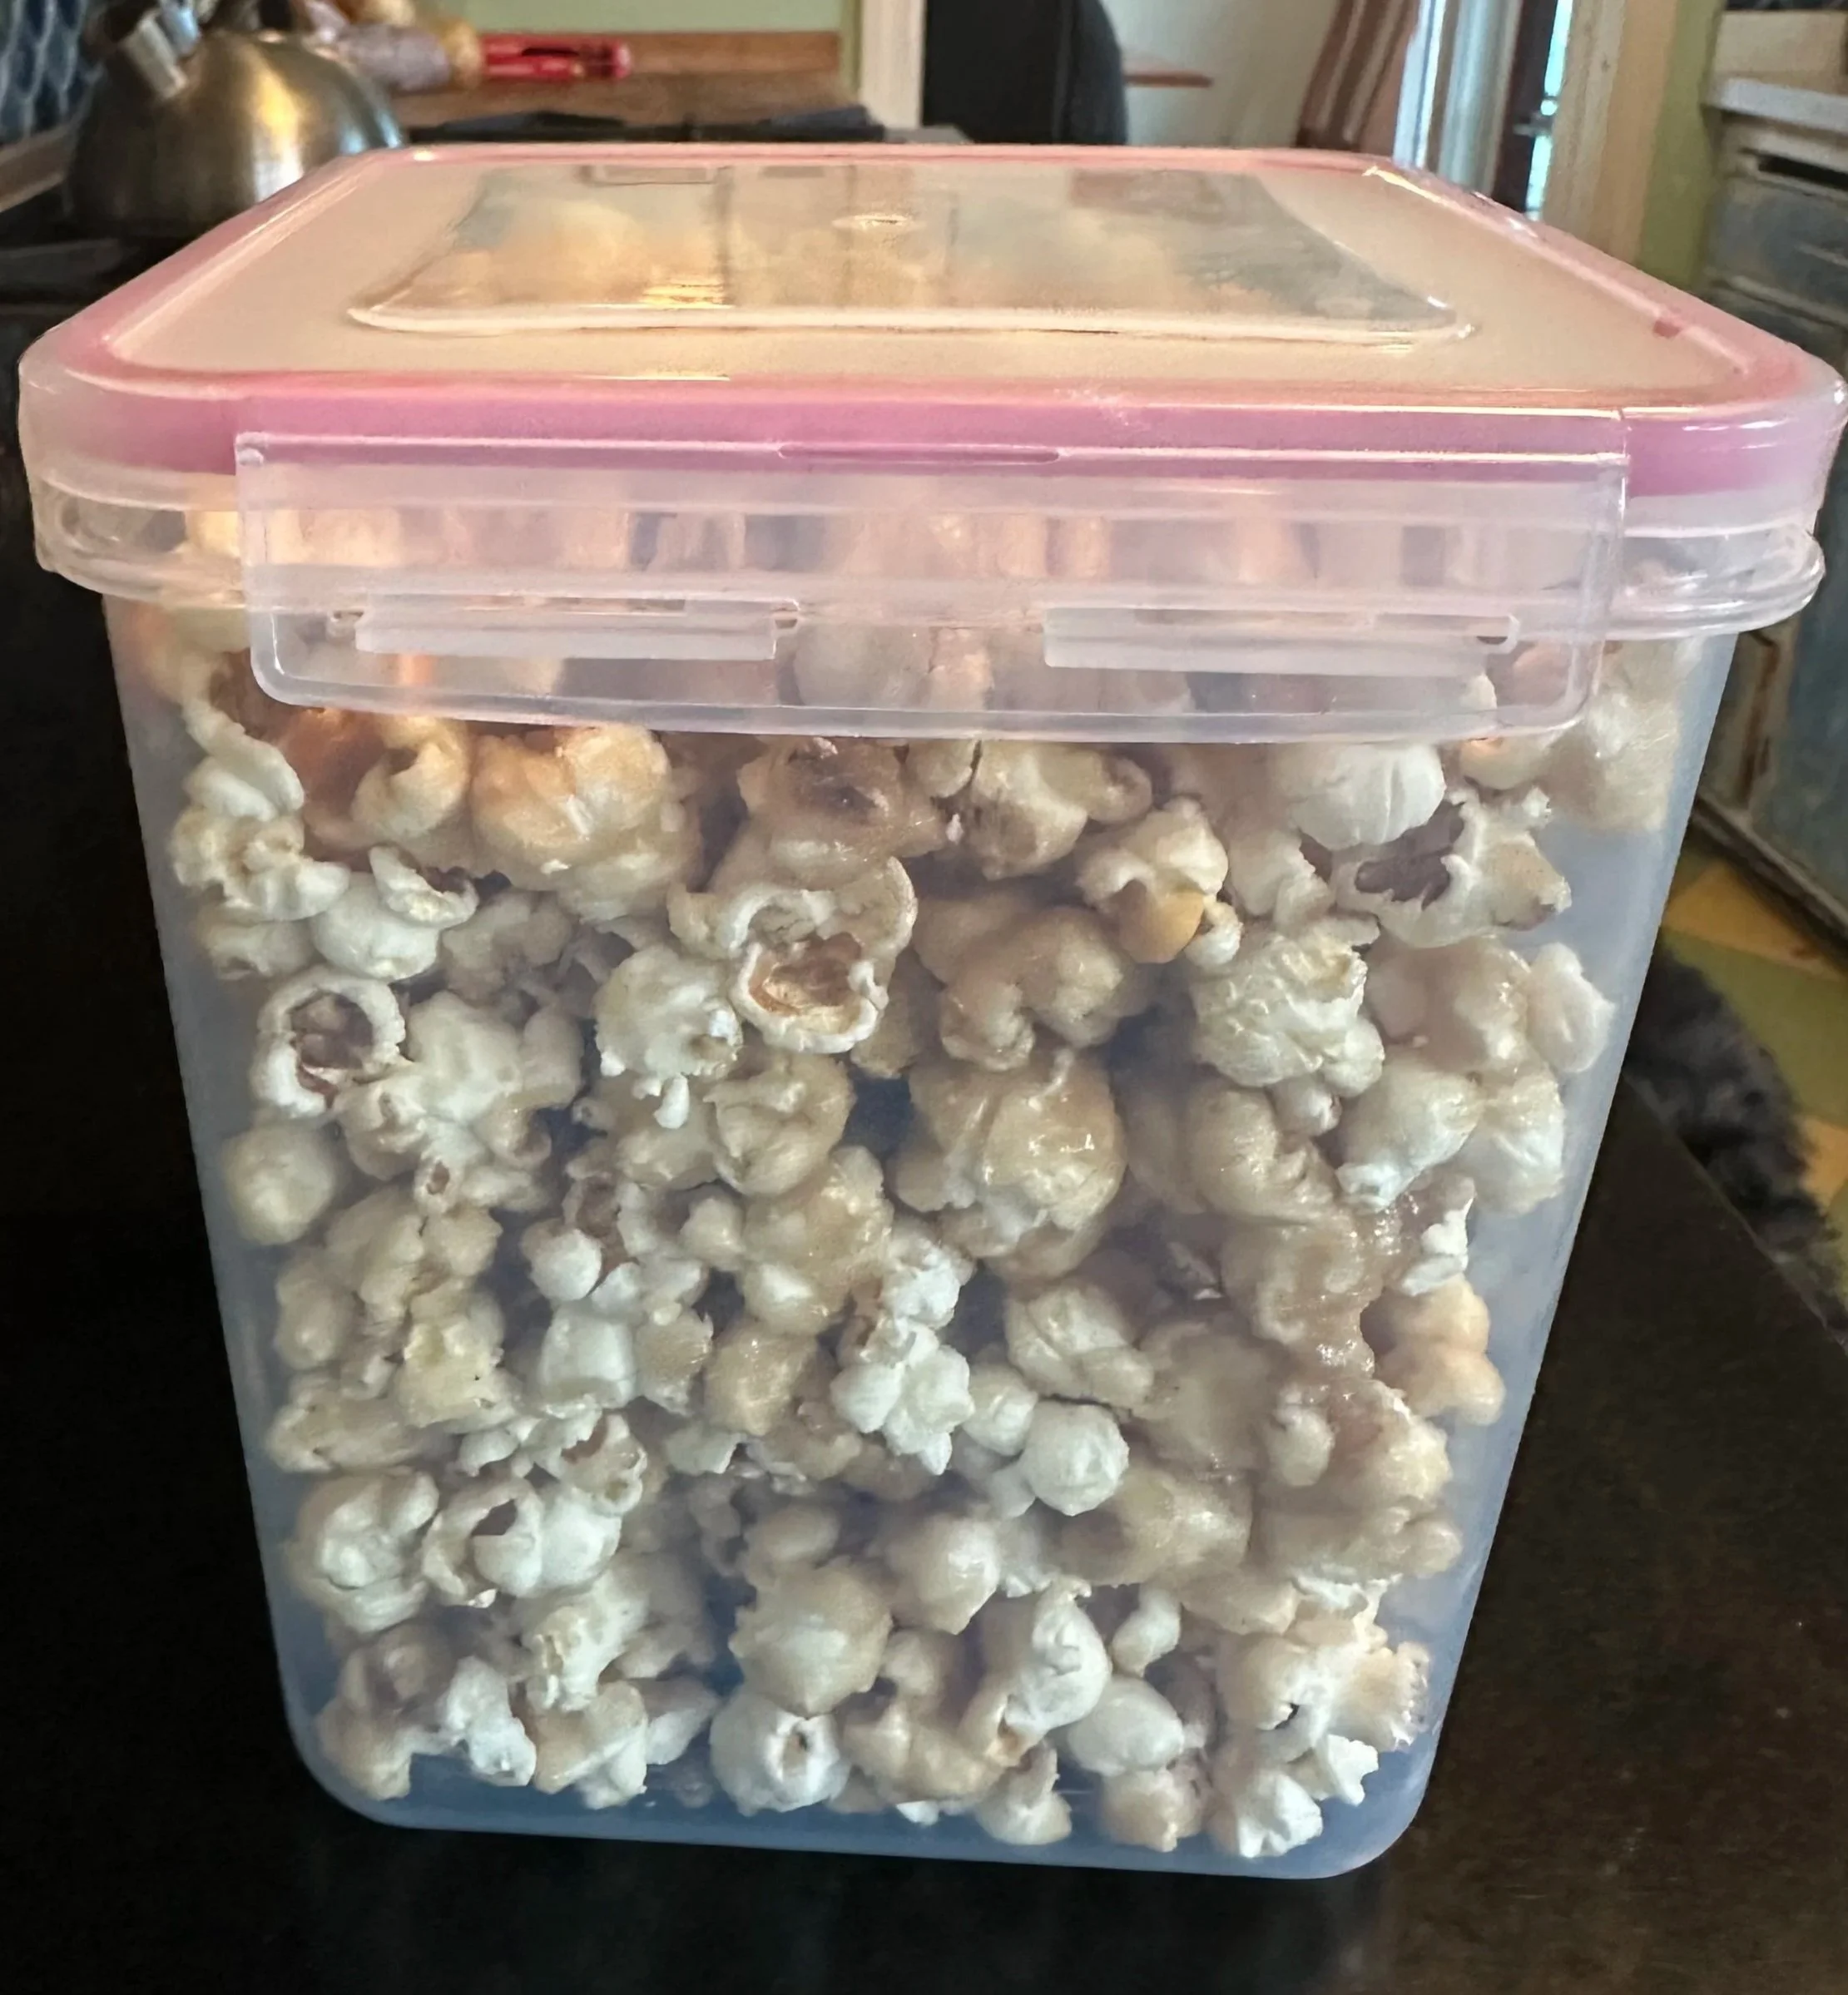
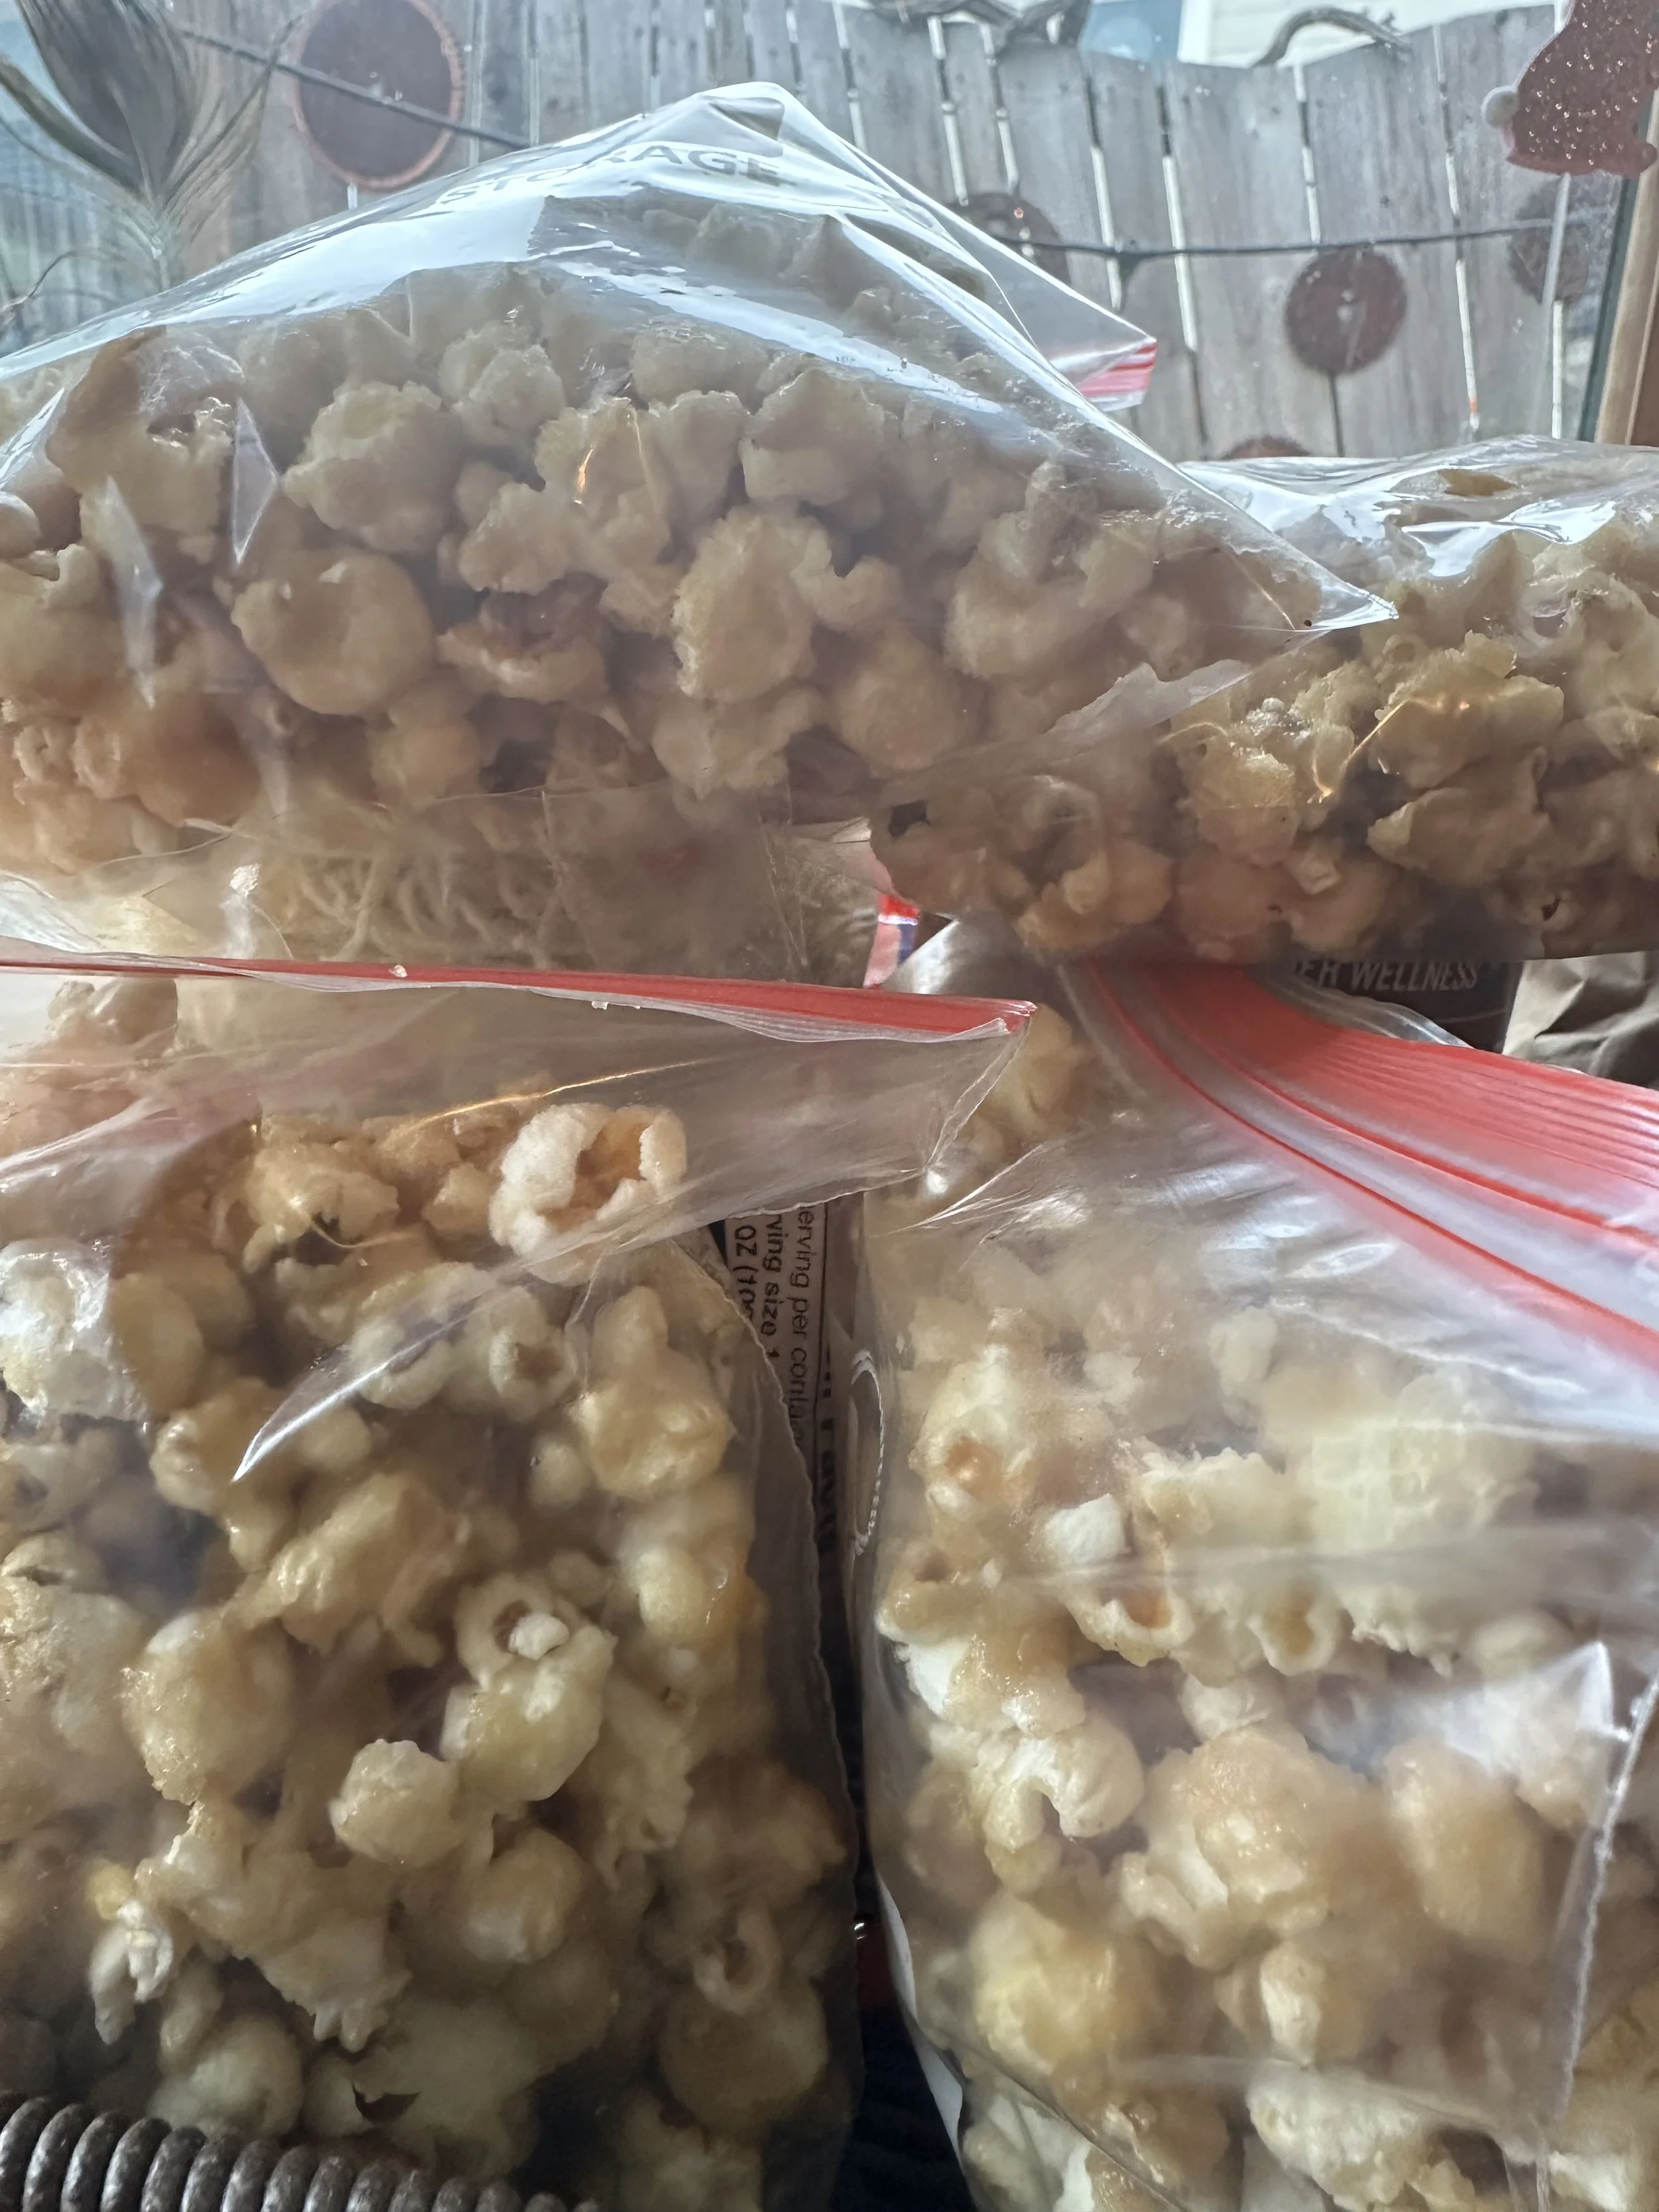
🎬Shatter Crunch Caramel Corn

Looking for the perfect homemade caramel corn? This Shatter Crunch Caramel Corn recipe is light, buttery, sweet, salty, and irresistibly crispy with a delicate candy coating that shatters with every bite. Made with simple pantry ingredients, it's perfect for movie nights, family gatherings, road trips, holiday gifts, and everyday snacking. Find more cozy comfort food recipes from Tré's Nomad Kitchen at www.tretaylor.com.
The Ultimate Crispy Homemade Caramel Corn
🍿
Light, buttery, sweet, salty, and shatteringly crisp—this homemade caramel corn delivers all the irresistible crunch without the thick, chewy coating.
Some of the best recipes begin with a little pantry creativity. After making classic brown-sugar caramel corn for the Fourth of July and S’Mores Carmel Corn too, I still had plenty of popcorn and a collection of ingredients waiting to become something delicious. I wondered what would happen if I used more white sugar, a little less brown sugar, and the magic of baking soda to create a lighter, crispier caramel coating.
The experiment worked beautifully. Instead of a heavy or chewy caramel, every piece was covered in a thin, golden candy shell with the most satisfying little shatter when you bit into it.
Naturally, I tested it on a few friends. In the interest of complete journalistic integrity, not every member of the tasting panel may have been entirely sober at the time—but the bowls emptied quickly, the reviews were enthusiastic, and everyone kept returning for one more handful. I call that a successful recipe test.
Why You’ll Love This Caramel Corn
Light, delicate, and extra crispy
Sweet and salty with a buttery caramel flavor
Less chewy than traditional caramel corn
Made with simple pantry ingredients
Perfect for parties, movies, concerts, and road trips
Easy to package for homemade gifts
No mystery ingredients or preservatives
Recipe Details
Prep Time: 15 minutes
Baking Time: 45 minutes
Cooling Time: 20 minutes
Total Time: Approximately 1 hour and 20 minutes
Yield: Approximately 12 cups
Servings: 10–12
Ingredients
Popcorn
12 cups freshly popped popcorn
Approximately 1/2 cup unpopped popcorn kernels, if popping your own
Light Caramel Coating
1 cup granulated white sugar
1/4 cup packed light brown sugar
1/2 cup unsalted butter
1/4 cup light corn syrup
1/2 teaspoon salt
1 teaspoon pure vanilla extract
1/2 teaspoon baking soda
Equipment
Large roasting pan or two rimmed baking sheets
Medium heavy-bottomed saucepan
Wooden spoon or heat-safe spatula
Two large spoons or spatulas for tossing
Parchment paper
Instructions
1. Prepare the Oven and Popcorn
Preheat the oven to 250°F.
Place the freshly popped popcorn in a large roasting pan or divide it between two rimmed baking sheets.
Carefully remove any unpopped kernels. Nobody wants to discover a tiny popcorn-dental-crisis boulder in the middle of an otherwise perfect snack.
Set the popcorn aside while you prepare the caramel.
2. Make the Caramel Coating
In a medium heavy-bottomed saucepan, combine:
Granulated white sugar
Light brown sugar
Butter
Light corn syrup
Salt
Cook over medium heat, stirring gently, until the butter has melted and the mixture is smooth.
Bring the mixture to a steady but controlled boil.
Once it begins boiling, allow it to cook for 4 minutes, stirring only when necessary to prevent scorching.
Do not walk away from the saucepan. Caramel has the temperament of a tiny kitchen diva and prefers your complete attention.
3. Add the Vanilla and Baking Soda
Remove the saucepan from the heat.
Immediately stir in the vanilla extract, followed by the baking soda.
The hot caramel will foam, expand, and become lighter in color. This is exactly what you want.
The baking soda creates tiny air bubbles throughout the caramel. Those bubbles help produce the delicate, crisp coating that makes this recipe lighter and crunchier than traditional chewy caramel corn.
4. Coat the Popcorn
Immediately pour the hot caramel mixture evenly over the prepared popcorn.
Using two large spoons or spatulas, gently toss and fold the popcorn until the caramel is distributed as evenly as possible.
Work carefully but quickly because the caramel will begin setting as it cools.
Do not worry if every piece is not perfectly coated yet. The caramel will continue to spread as you stir the popcorn during baking.
5. Bake Until Crisp
Place the caramel corn in the preheated oven.
Bake for 45 minutes, gently stirring every 15 minutes.
Each time you stir, lift the caramel from the bottom of the pan and fold it over the popcorn. This helps distribute the coating evenly and prevents large sticky sections from forming.
The low oven temperature slowly dries and hardens the caramel, transforming it into that signature light, crispy shell.
6. Cool Completely
Line a clean counter or large baking sheet with parchment paper.
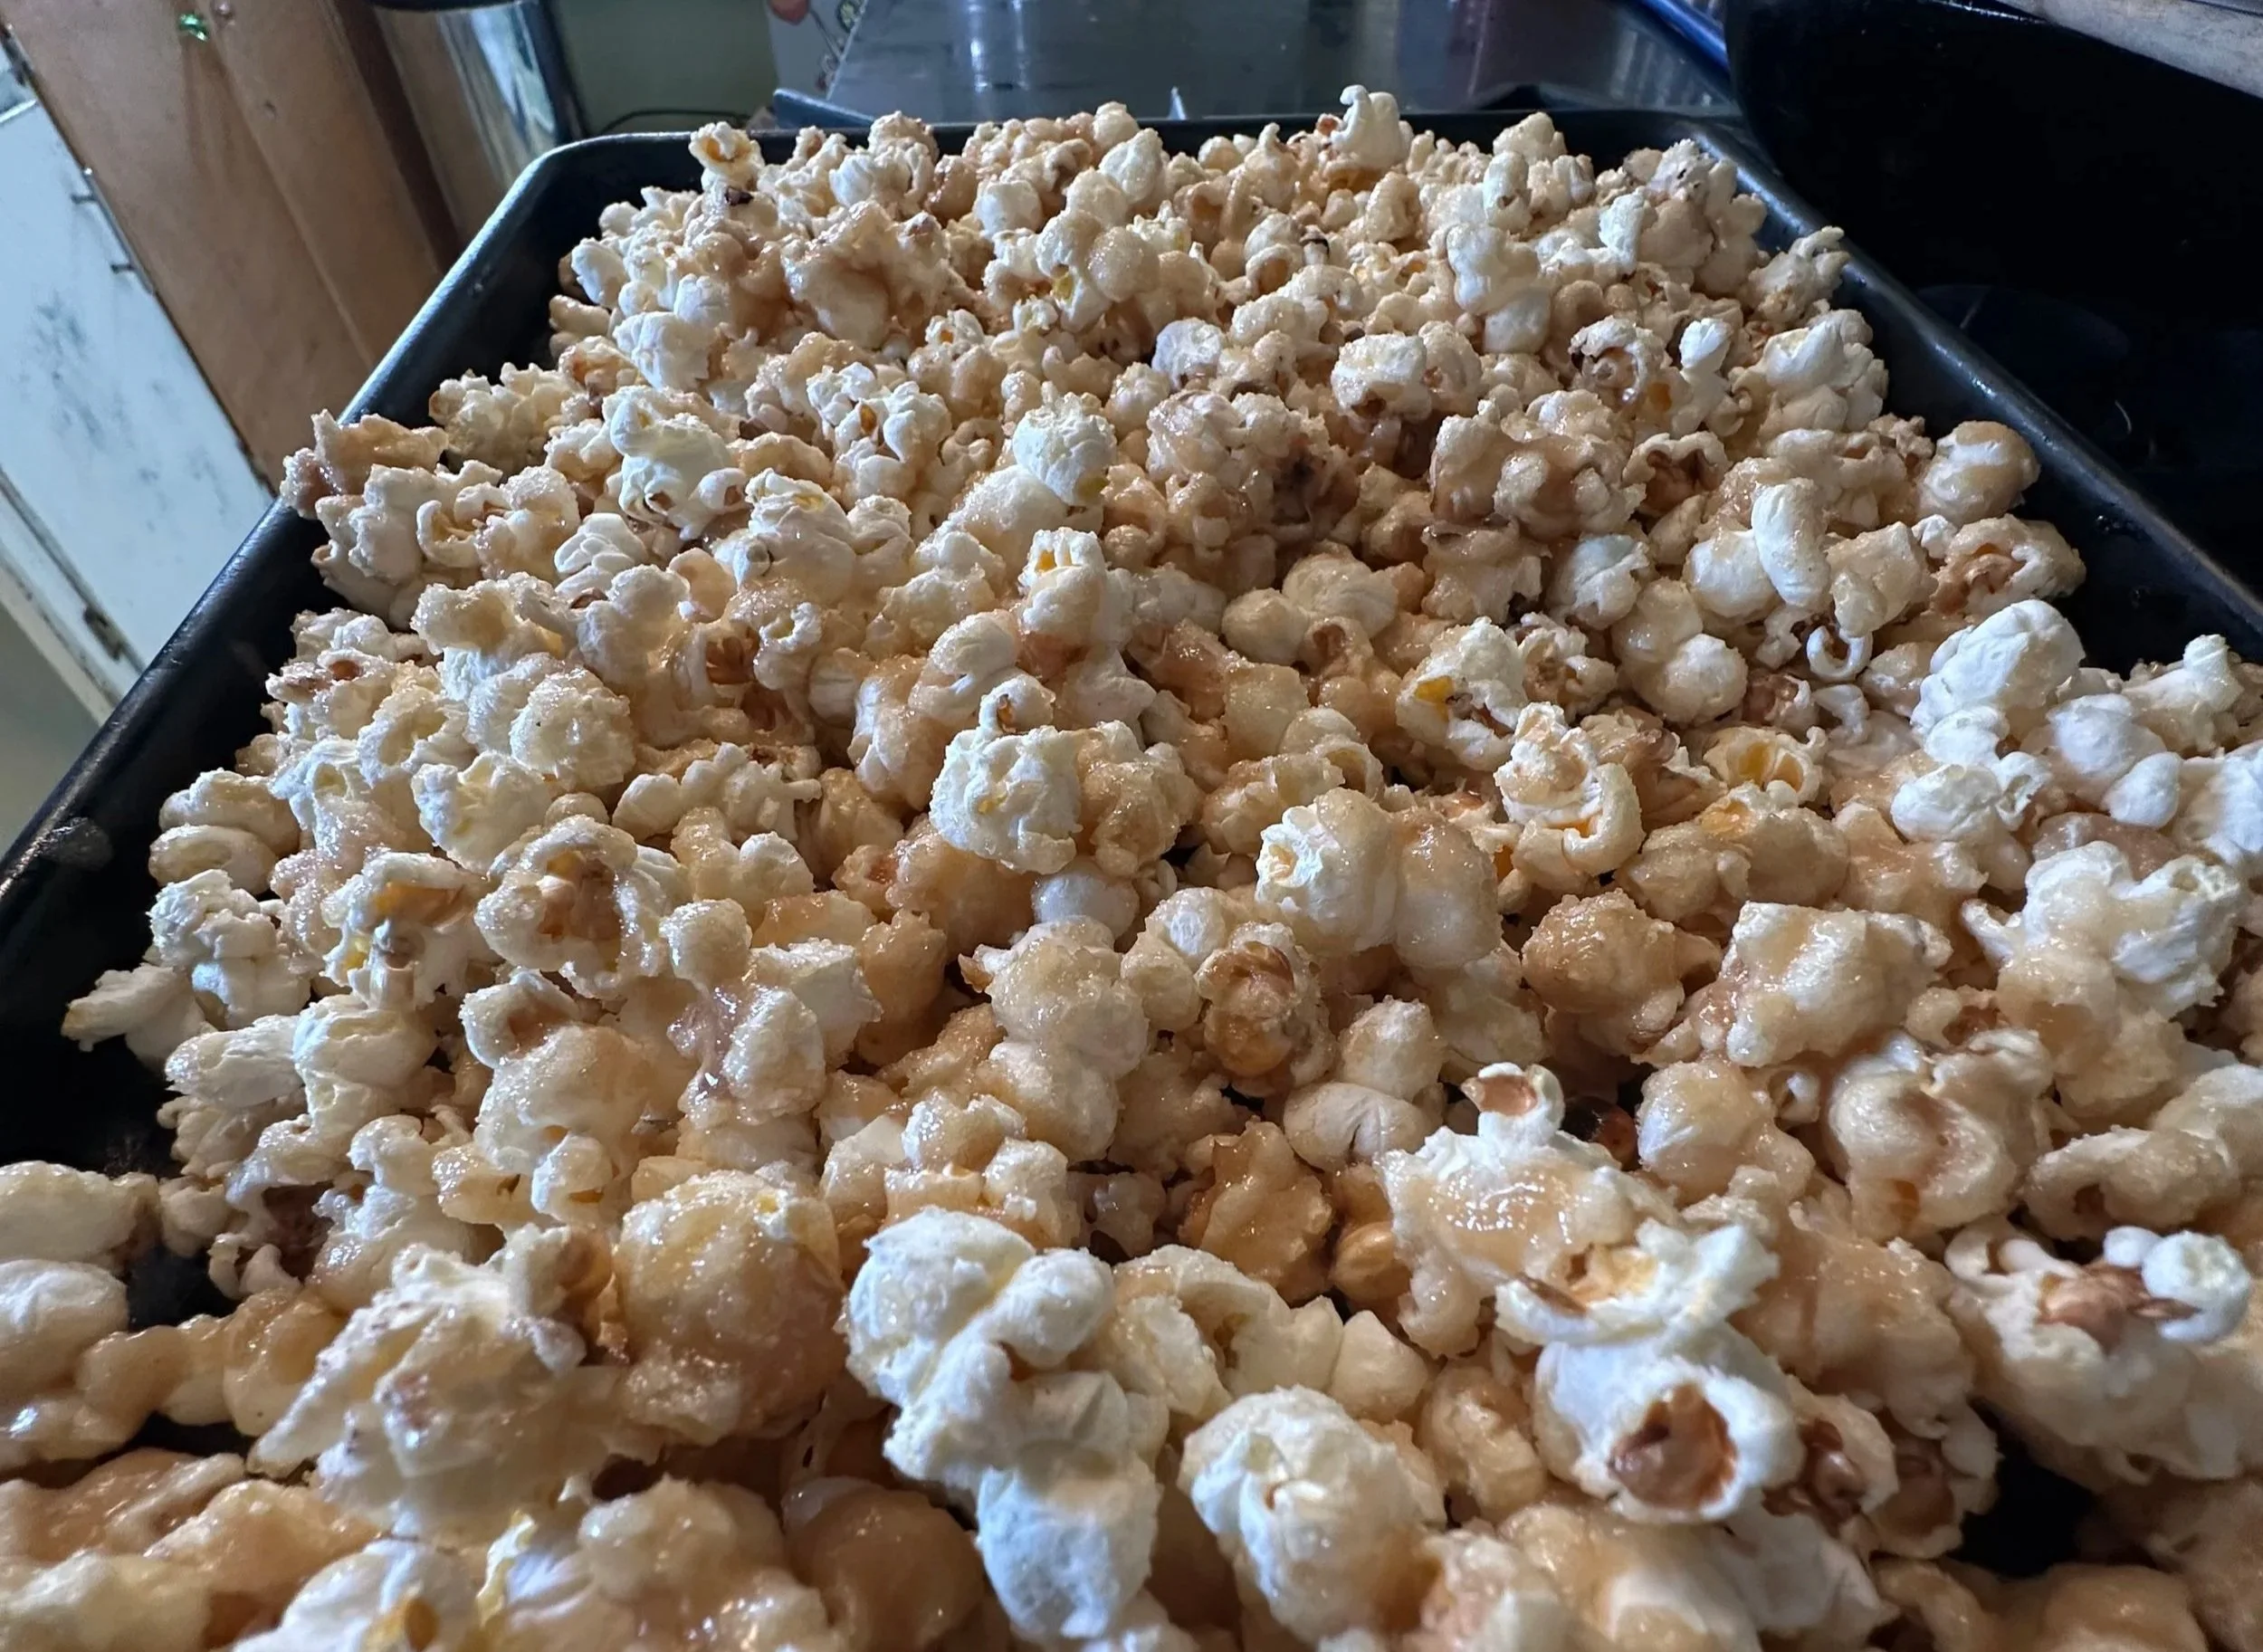
Carefully spread the hot caramel corn over the parchment in an even layer.
Allow it to cool completely for approximately 20 minutes.
The coating will become increasingly crisp as it cools.
Once cooled, gently break the caramel corn into individual pieces and small clusters.
Taste one piece for quality control.
Then perhaps another.
This is serious culinary research.
Tré’s Nomad Kitchen Notes
This is not diet caramel corn. It is still a gloriously buttery, sugar-coated treat.
The word light describes the texture: a thinner, airier, crispier caramel shell rather than a dense or chewy coating.
Using mostly white sugar creates a cleaner, more delicate crunch. The smaller amount of brown sugar adds just enough molasses flavor to keep the caramel warm, golden, and familiar.
The baking soda is essential. It creates the foamy, aerated caramel responsible for the recipe’s beautiful shatter-crisp texture.
Tips for Perfect Shatter Crunch
Use Fresh Popcorn
Freshly popped corn has the best texture and accepts the caramel coating more evenly.
Remove Every Unpopped Kernel
Take an extra minute to search for hard kernels before adding the caramel. Your teeth will send a handwritten thank-you note.
Use a Large Pan
The popcorn needs enough room to be tossed and stirred without escaping all over the kitchen.
Measure the Baking Soda in Advance
Once the caramel is ready, everything moves quickly. Measure the vanilla and baking soda before you begin cooking.
Let It Cool Completely
The caramel coating continues to harden as it cools. Warm caramel corn may seem slightly soft, but it should become beautifully crisp once completely cooled.
Humidity Matters
Caramel corn prefers dry air. On a humid day, allow it to cool indoors and transfer it to an airtight container as soon as possible.
Serving Ideas
Shatter Crunch Caramel Corn is perfect for:
Family movie nights
Television marathons
Birthday parties
Backyard celebrations
Concert and festival snacks
Picnics
Camping trips
Road trips
Lunch-box treats
Holiday gift bags
Welcome-home surprises
Late-night kitchen visits